

To paraphrase an old saying: If content is on your site but no one knows it’s there, is it there at all? The answer, of course, is yes. It’s there. Let me show you how to optimize your images so people don’t miss the forest for the trees.
Avoid embedding text into images
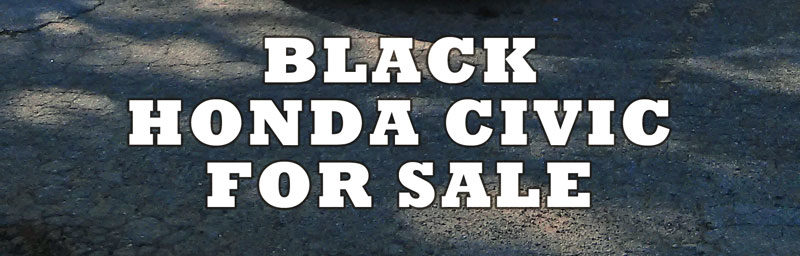
Can’t load a photo on a slow connection? Can’t read the text it shows.
Browsers and search engines can’t read a picture of text. Not sure what that means? Try to highlight the text in the photo above. You can’t, because while editing the photo, I typed in some words and saved the whole thing as a JPG.
Whenever possible, avoid putting your most important message directly into an image. This way, you’ll get that message to a much wider audience.
Give images informative filenames
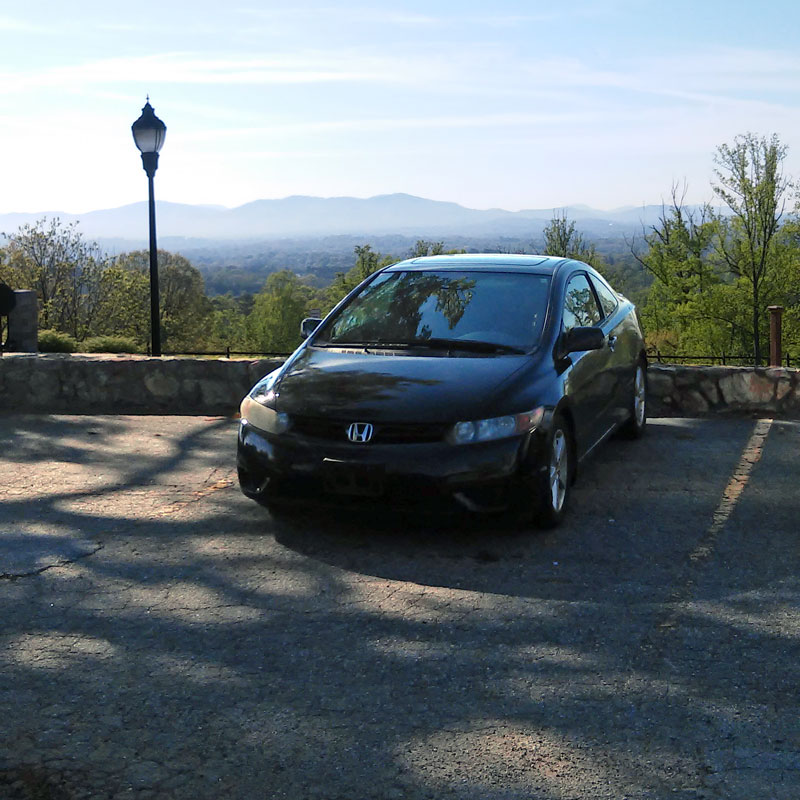
Image00001.jpg. Need to know anything else?
When you take a photo, your camera has no way of knowing what the contents of that photo are (stupid camera). So, the camera does the only thing it can. It assigns a generic filename to the image according to some predefined internal naming system. Take a moment to run a Google image search for image001 or DCMIMAGE4 and you’ll find a wasteland of unrelated images that are all but lost to search engines. This is where your site’s images are likely to show up if you don’t name them properly.
Thankfully, this is an easy thing to do. If your image is of the black 2007 Honda Civic Coupe you have for sale, you wouldn’t name it “20160425_092402.jpg”. Instead, you might name it “2007-Honda-Civic-Coupe-Black-For-Sale.jpg”. Be sure to put your main keyword at the beginning of the file name. Try to think about what terms your audience might search for that would lead them to your content and name your images accordingly.
Make use of image alt text
The alt (or alternative) text of an image is the text displayed instead of the image when that image can’t be loaded by your browser or if the user has chosen to disable images. The alt text is also used by screen readers to allow the visually impaired access to that content. Without it, user who can’t see your image might miss out on the message you’re trying to convey.
Like the filename, the alt text needs to be descriptive. In the case of our car for sale, the alt text might read “Black 2007 Honda Civic Coupe For Sale”. What the alt text should not be is a repository for every keyword your can think of. Gone are the days when padding your images with long strings of keywords would garner you more traffic. The algorithms used by today’s search engines reward quality of content over this sort of SEO trickery and your site may get categorized as spam.
Pair images with appropriate content
Make sure your image is relevant to the surrounding content. For instance, if our car image was placed in an article about the cleanliness of parking lots, the filename and alt text we set earlier might confuse search engines, causing your content to be deemed less relevant. Also, when possible, place your image near the appropriate content to make it easier for search engines to connect the two.
Specify width and height for all images
If a browser knows the dimensions of an image, that browser can construct a web page even before the image loads. Believe it or not, this can lessen load times and create a better, faster experience for your users.
So how do you handle image optimization in WordPress?
 Aside from the initial naming of images, which needs to be done before uploading them to your site, WordPress allows you to easily set and adjust your images to fit your Image Optimization needs.
- When you’re ready to add a new image to your post, select the “add media” button at the top of the WordPress WYSIWYG editor.
- Then, you can either select “Upload Files” or you can just drag your new image into your browser window.
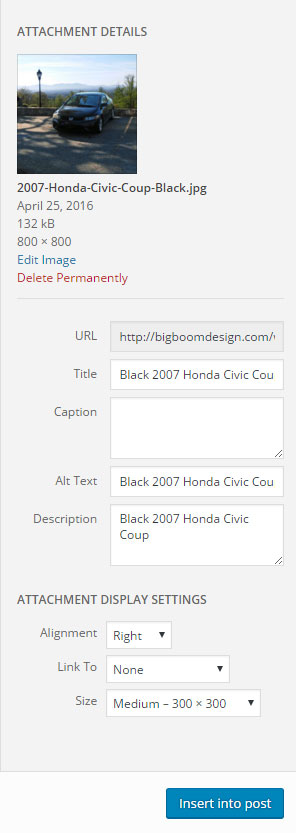
- When the image is done uploading, you’ll be greeted with the “ATTACHMENT DETAILS” dialog on the right. Here, you’ll find all the information about your image. You’ll also be able to craft your alt text, create a caption, or add a title and description to your image to give search engines even more help sending people your way.
- Don’t forget to choose an appropriate image size from the drop-down. Larger images = larger load times, which can affect your ranking with search engines, so you’ll need to use your best judgment as to how big your images need to be.
When you’re finished and you’ve got everything the way you want it, select the “insert into post” button at the bottom of the dialog. That’s it. Your image is finished cooking and is ready to start working for you. Remember to publish your post or page so your message can be heard.
Image optimization is just one step in a larger SEO campaign, but it is often overlooked. Add some simple steps to your content-publishing routine to make your images work even harder for you.
Check out our other posts for more SEO and Analytics tips and tricks.
Find out more about author and BBD developer Mike Hunnicutt and the rest of the team.